A long time ago, Kodak started offering a service where you could send in photos and have them turned into a lenticular photo. No sooner did I get my first sample back that they stopped the service altogether. My thirst now unquenched, I set out to make some of my own. The result turned out actually much better, sans the horrible quality of the gif I’m posting above. It looks great in person! Basically, you can buy Lenticular sheets online. They typically come with an adhesive already on them. You can then find Photoshop actions that are pre-defined to take 2 photos and superimpose them on top of each other every 1/30th of an inch. Once you print out the resulting photo and carefully apply the lenticular sheet on top of it, you get a result similar to the above. Nice!
OMG! I haven’t updated my blog in 3 years!
Should I really be surprised? How many blogs are out there that are abandoned? 3 years ago I thought I would be different. Share my knowledge. Impress the ladies. I have a blog! Not quite. To redeem myself I am going to re-commit to this blog and above this entry will be several new posts, after-which I will forget about this for another few years. Hi!
Transportable Nanoleaf Mount
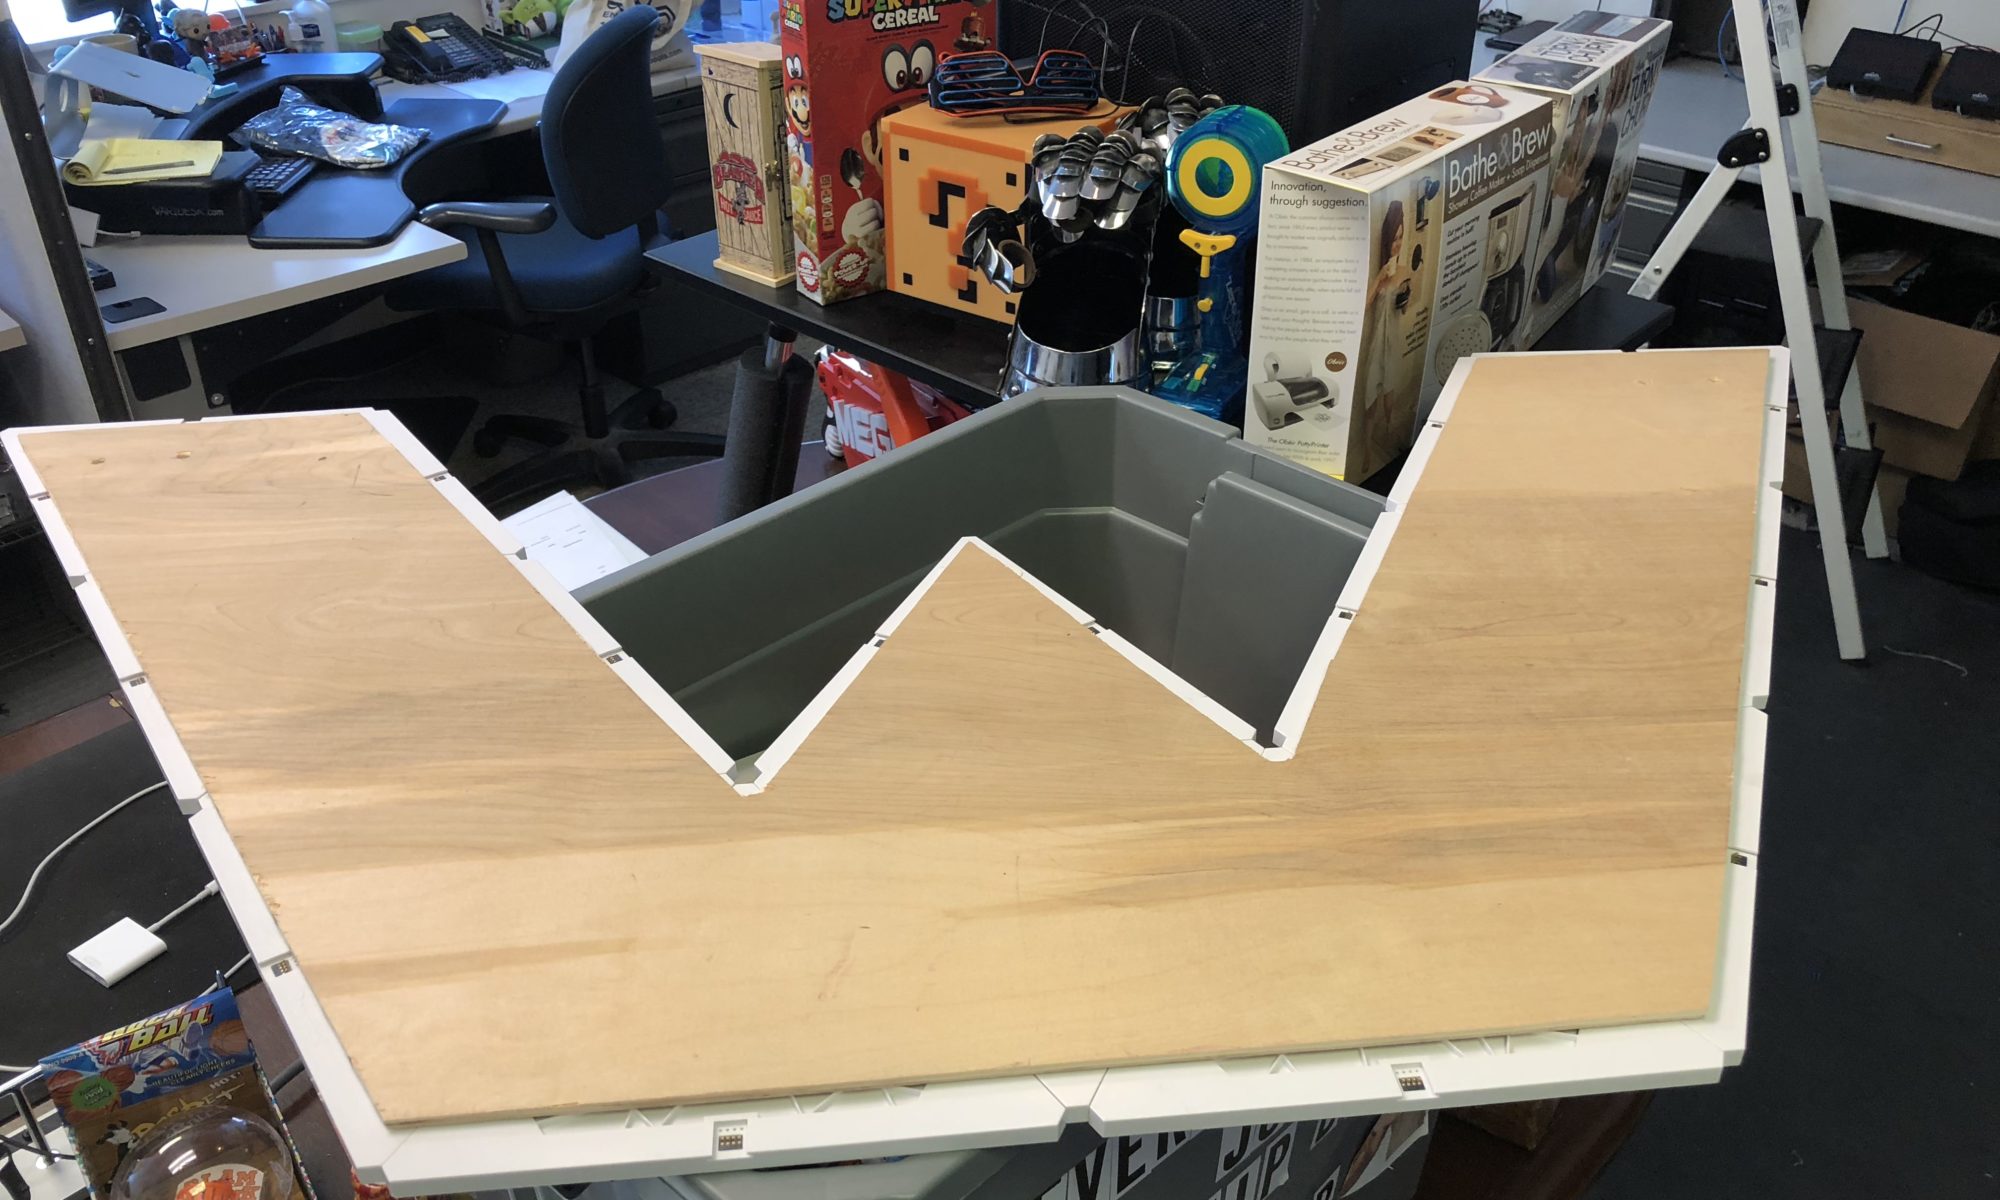
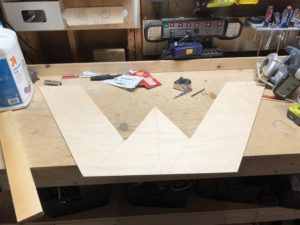
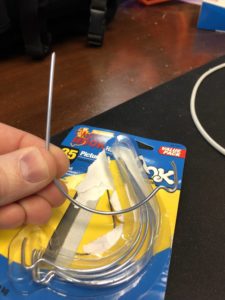
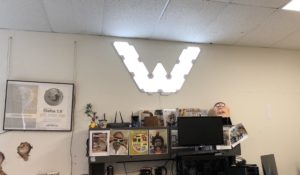
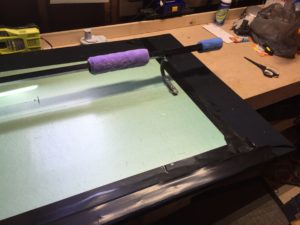
I had to take down my Nanoleaf due to some remodeling we were doing, and at the same time a lot of people at work wanted to see what it looked like in person, so out of a desire to never have to worry about setting it up again, I used some thin 1/4″ plywood to make an easily transportable mount and hung it using some simple wall clips that only leave a tiny hole in the wall. I’m leaving it on the wall at work until wifey and I “agree” on where to put it now that the old wall it was on is no longer accessible (might be a while…)
A TV Protector for VR Headsets
I remember when the Nintendo Wii first came out that I began reading many reports on the internet where people broke their TV’s by accidentally hitting them while playing games. I never saw this as a problem myself, as I was always extremely careful to play far enough away from the TV that this would be highly unlikely to happen.
Fast forward a few years (a lot of years), and now we enter the age of VR. My first foray into the world of VR was my purchase of an Oculus DK2, which I used in a sitting position in front of a small computer monitor. The experience wasn’t that compelling and I experienced more motion sickness than I did actual enjoyment. So even though I had pre-ordered the release version of the Oculus Rift, I wound up cancelling that order and putting my DK2 up on eBay.
But then I started hearing about the HTC Vive. Normally I am the first person to jump in to pre-order any new tech gadget, but after my experience with the DK2, for the first time in my life, I decided to wait things out on VR. But the Vive kept popping up in my news feeds. And the reviews were great. “Room Scale VR”. I tried to resist. I tried to find reviews to talk me down from ordering one. But I eventually gave in. And WOW! I still remember the first day I set it up. This was amazing!
The problem though is that shortly before I got my Vive, I had saved up and bought a nice TCL Roku 65″ TV. I went out of my way to set it up properly. I added some really nice speakers to it, and I wall mounted it using OmniMount’s Life70 system that would allow me to move it up and down the wall vertically to switch between a gaming height and a more relaxed movie-watching height.
Even thought the Vive shows you when you are nearing the boundary of your play area, I would get so immersed inside many virtual reality experiences that I realized it would be really easy for me to bash my nice new giant TV to smithereens before I realized what I had done.
To make matters worse, I wound up buying a PSVR when it came out (and yes, both are great in their own unique way). So now I had two ways to destroy my TV. Even worse, I now had two ways for someone else to destroy my TV too, since it seems everyone wants to try VR when they find out I have both systems.
My first solution was to move my VR systems down to my basement and just have them hooked up to a tiny monitor. That solved the TV smashing problem but it wasn’t ideal for a lot of reasons. I really wanted to have both systems up in my family room, but I continued to see posts on reddit and other sites about users of the Vive and PSVR smashing their TV, or their friend’s TV, so I just kept everything in the basement until I could figure something out.
There are places that sell “TV Protectors”, which are basically plastic screens that hang on the front of the TV, but they are extremely expensive for larger TV’s, and I wasn’t sure that would provide the true protection I wanted.
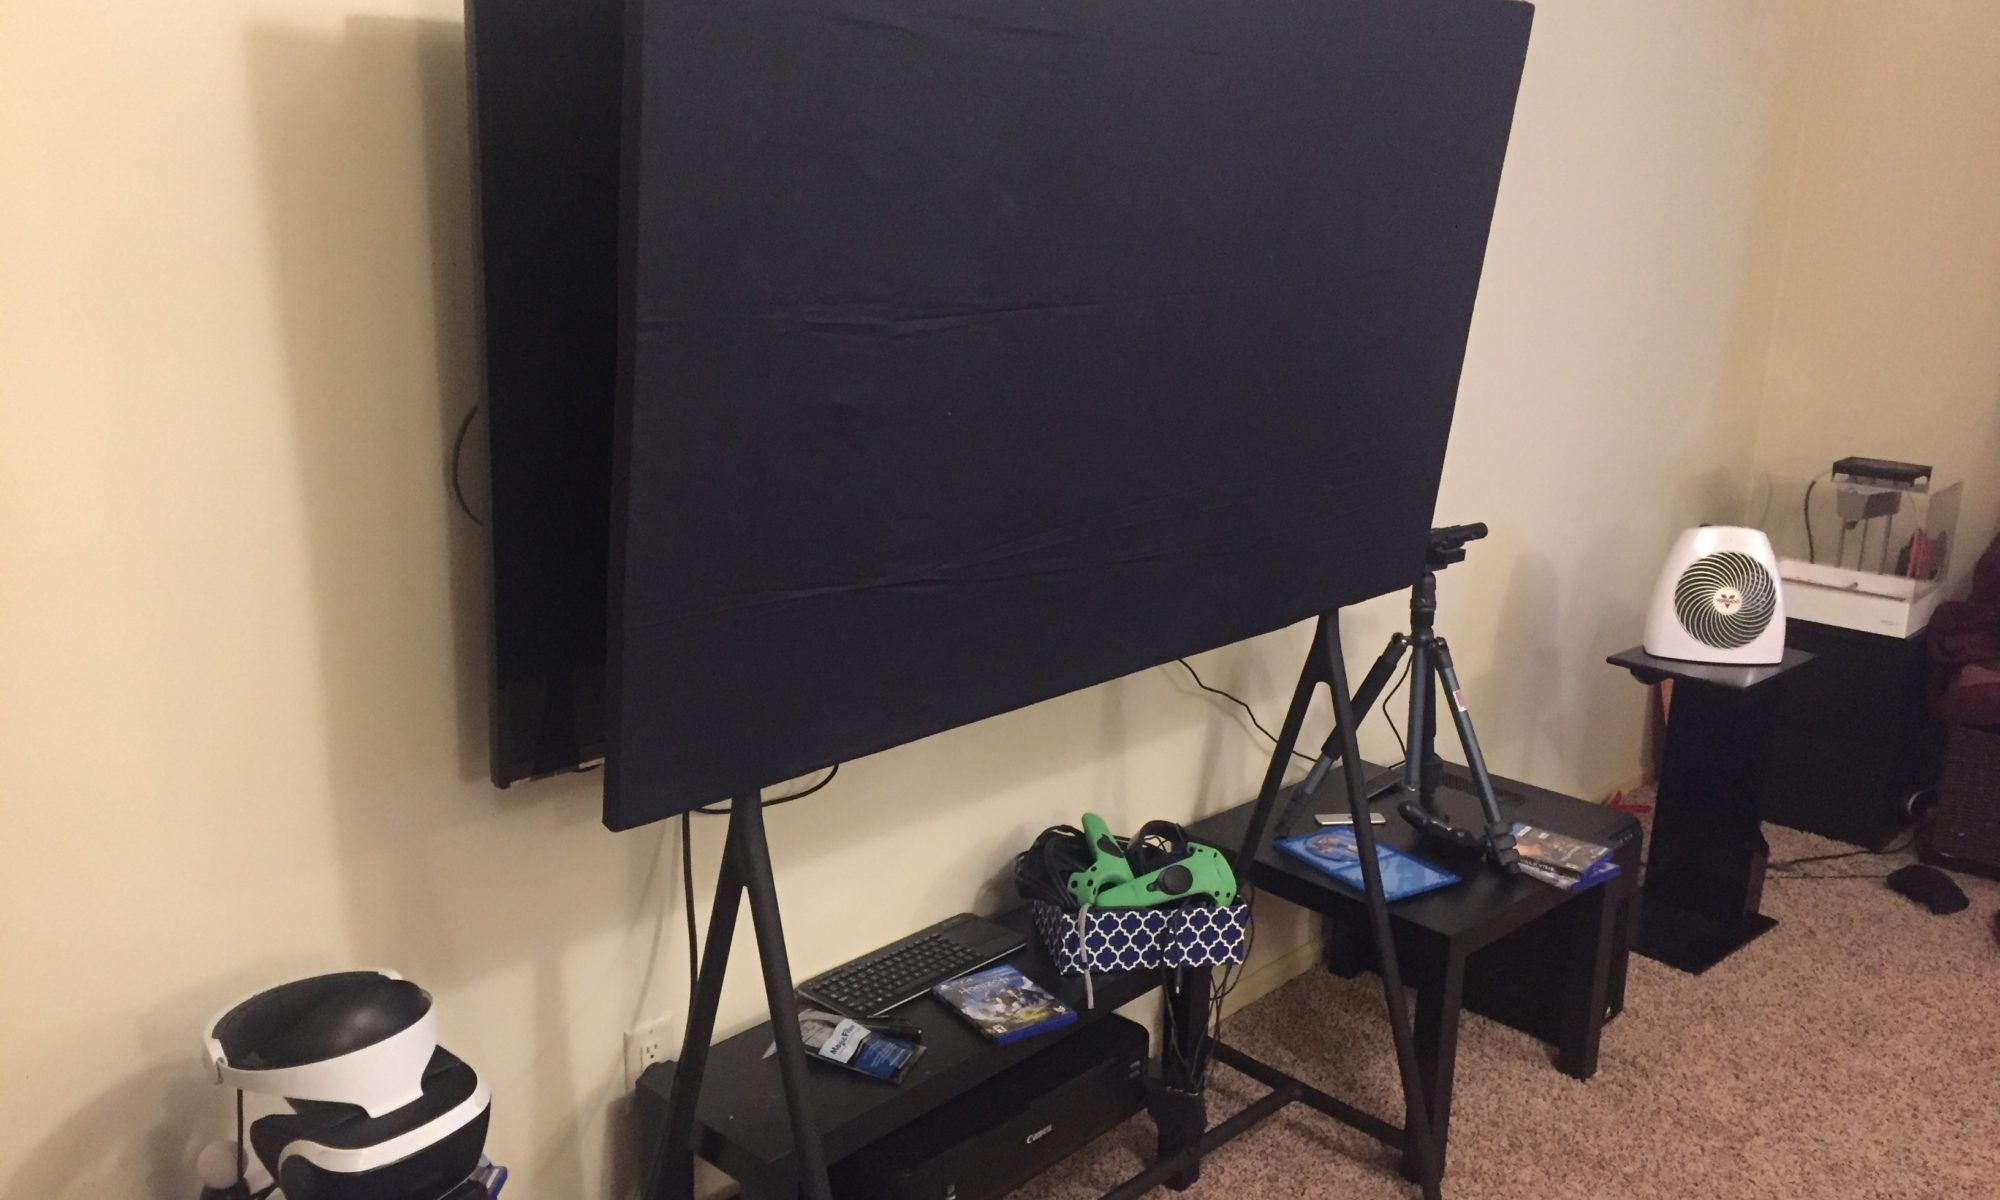
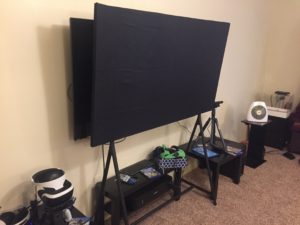
So as the weeks went by and I still had no solution, one day I just woke up and decided I needed to make something myself that would work. And it is here that I now present my solution for my 65″ TV
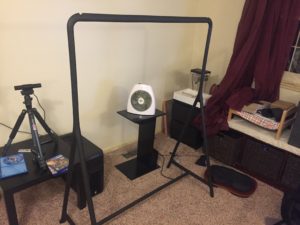
*) An IKEA Turbo clothes rack
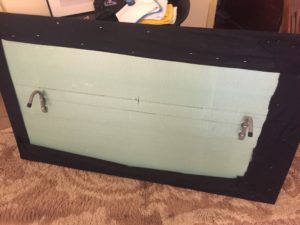
*) Polystyrene foam insulation board 4′ x 8′ x 1″
*) 2 Garage Utility Hooks
*) Screws, nuts, and washer to attach utility hooks to foam board
*) Ikea black twin-size fitted sheet
*) 1″ x 1/2″ x 8′ wood plank
*) 2 clamps (plus screws to attach clamps to wood plank)
* ) 2 – 4″ paint roller covers (for the first outer layer)
*) 4 – 8″ Paint roller covers (2 for the center, and 2 to fit over the 4″ outer ones)
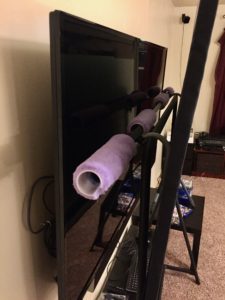
I originally was just going to hang the foam from the top of the TV, but I was worried that a really good wack on the foam panel would transfer a lot of force to the TV itself, so I decided to hang the foam board from the garment rack instead. If the force of the hit was strong enough to move the garment rack, then I depend on the back bar which is covered by the paint roller covers to gently push off of the TV. I put a 2nd set of paint roller covers on the outer first set of paint roller cover so they are slightly thicker than the inner ones. This way, any transferred force would push first against the outer bezel of the TV instead of the display panel itself.
I used an electric staple gun to attach the fabric to the foam board, but the foam board is not really something that holds onto the staples tightly, so I also used some Gorilla tape over the entire back of the foam panel to make sure that the staples wouldn’t pop out and wind up in someone’s foot or in my cat’s paw.
Ultimately I might forgo the paint roller cover button and simply attach removable braces on either side of the barrier that would butt up against the wall so that it would be impossible to transfer any force whatsoever to the TV.
However, as a father of 3 who works 60+ hours a week, I am so happy to get this far, I am going to give myself a break for now and see how this works out. It might not be perfect, but it will certainly reduce the likelihood that my shiny new TV will wind up with a giant crack down the center of it due to an overzealous lunge or strike made by someone with a VR controller in their hand.
The other benefit of this solution is that it is easily removable, since the minute I started constructing this I could see my wife off in the distance beginning to have a bit of a melt down that this monolithic monstrosity would be occupying our family room for eternity. In reality, the foam panel is easily walked out to the garage, which is conveniently accessible by a door on the same wall the TV is mounted to. The garment rack I bought for this then turns into a solution to another problem we have, where our teenagers use the family room couch to sort their clean laundry, since the laundry room is what connects the family room to the garage. I took the liberty of buying some IKEA laundry storage components that work with the rack, so that when the rack is not sitting in the garage with the TV protector panel, it is serving as a laundry folding and storage station so our couch can be used for TV watching instead of laundry folding.
A proper workbench for a middle-aged geek dad (finally)
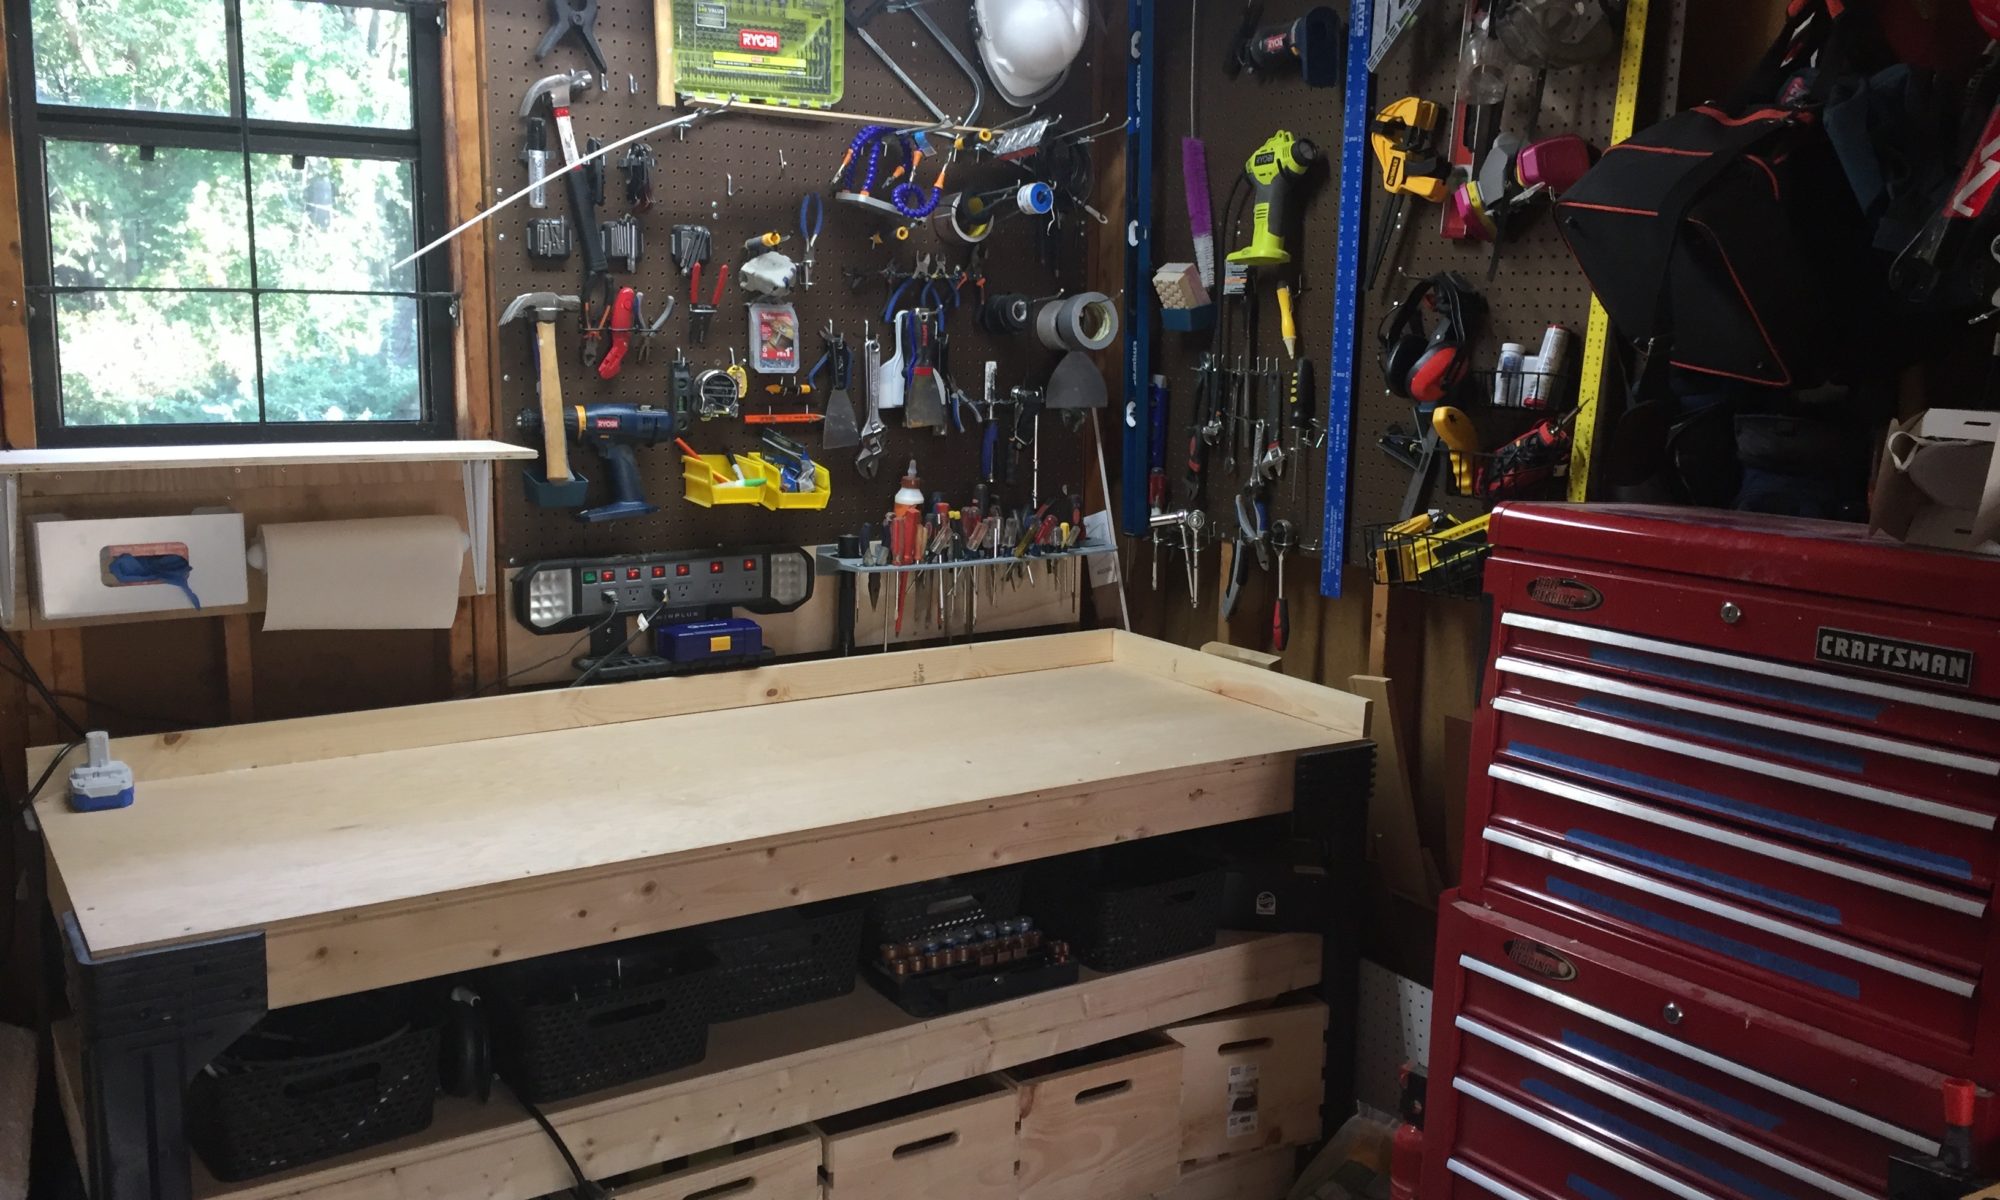
Much to my father’s chagrin, I was never good with mechanical things. I was good with computers. That was it. Well, whether is was age, maturity, parenthood or a combination of all of those things and maybe some pure luck, other the years my mechanical skills have evolved out of necessity, but my ability to work anywhere efficiently had not. As I did more and more home improvement repairs and projects, I always found myself making some sort of spur-of-the-moment work area, where I would waste way too much time looking for tools or parts that I just had in my hand a minute ago but somehow lost now that I needed it again. So enough was enough. And it was time to visit amazon to help rescue me from this dilemma. Enter 2×4 Basics. This cool little project lets you build an amazing workbench that can be built to exact dimensions you want that is also super sturdy at the same time. I had looked at “pre-fab” workbenches, but they were either the wrong size, too expensive, or too flimsy. Once 2×4 basics kit arrived from amazon. I went to Lowe’s, got a bunch of plywood cut to the sizes I needed, along with some 2×4’s and in a little under an hour I had this fantastic new workbench!
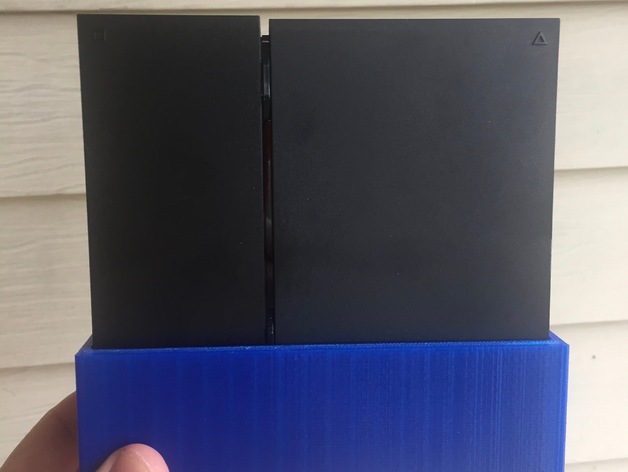
My custom wall mount for the PSVR processing unit.
Hurray for 3D printers! I am extremely pleased with my decision to purchase a Mod-T 3D Printer. I had been looking at 3D printers for a while, but they all seemed to have very mixed reviews. I read about frequent problems requiring diagnostics and repairs. So when the Mod-T surfaced, with the promise of an easier to use 3D printer, I ordered one right away. And I have no been disappointed. Granted, like all 3D printers, you have to adjust your expectations with the current state of the technology. 3D printing is slow. And the detail isn’t quite there you yet. And there is a lot of trial and error to get a print just right. But putting all of that aside, it is still a giant ball of futuristic fun. After I bought my Mod-T, I bought an HTC vive. And my Mod-T came in handy when I wanted a mount for the Vive’s link box. I found a model on Thingiverse, printed it out and I was all set. So when I then went out and bought a PSVR, there was so mount available yet for it’s processing unit. So I setup an account on TinkerCAD, created my very first custom 3D design, and printed it on mystery Mod-T. And it worked perfectly! Success! Being a geek is great fun.


